UPDATED - BEAUTY AND LIFESTYLE POST
Hello fashionistas!
I am so incredibly sorry that I have not made a blog post for a long time. I have been very busy as of late sitting my A-level's and GCSE Maths examinations, waiting anxiously for the majority of the summer for my results and if I am honest spending most of my free time watching Netflix. However I am back now, and thought it would be a good time to make a blog post before the summer is completely over.
The weather has been very up and down recently, waking up to sunshine and going to bed hearing rain. This weather situation has actually inspired me to make a blog post on an affordable yet fashionable outfit that is suitable for a sunny afternoon in Camden or a rainy morning in Starbucks. I will be photographing this outfit in the next few days so keep your eyes peeled for updates.
In other news I have made a bold change to my appearance, opting for a change and updating my out dated hairstyle! As many of you may know my hair is rather curly and can be at times, hard to handle. I thought to myself one beautiful summers day, 'Enough is enough, I am getting myself a new hairstyle for the summer'. I will post below before and after shots of my hair and will describe in depth the rigorous process that it took to get my hair looking sassy as ever.
Before :
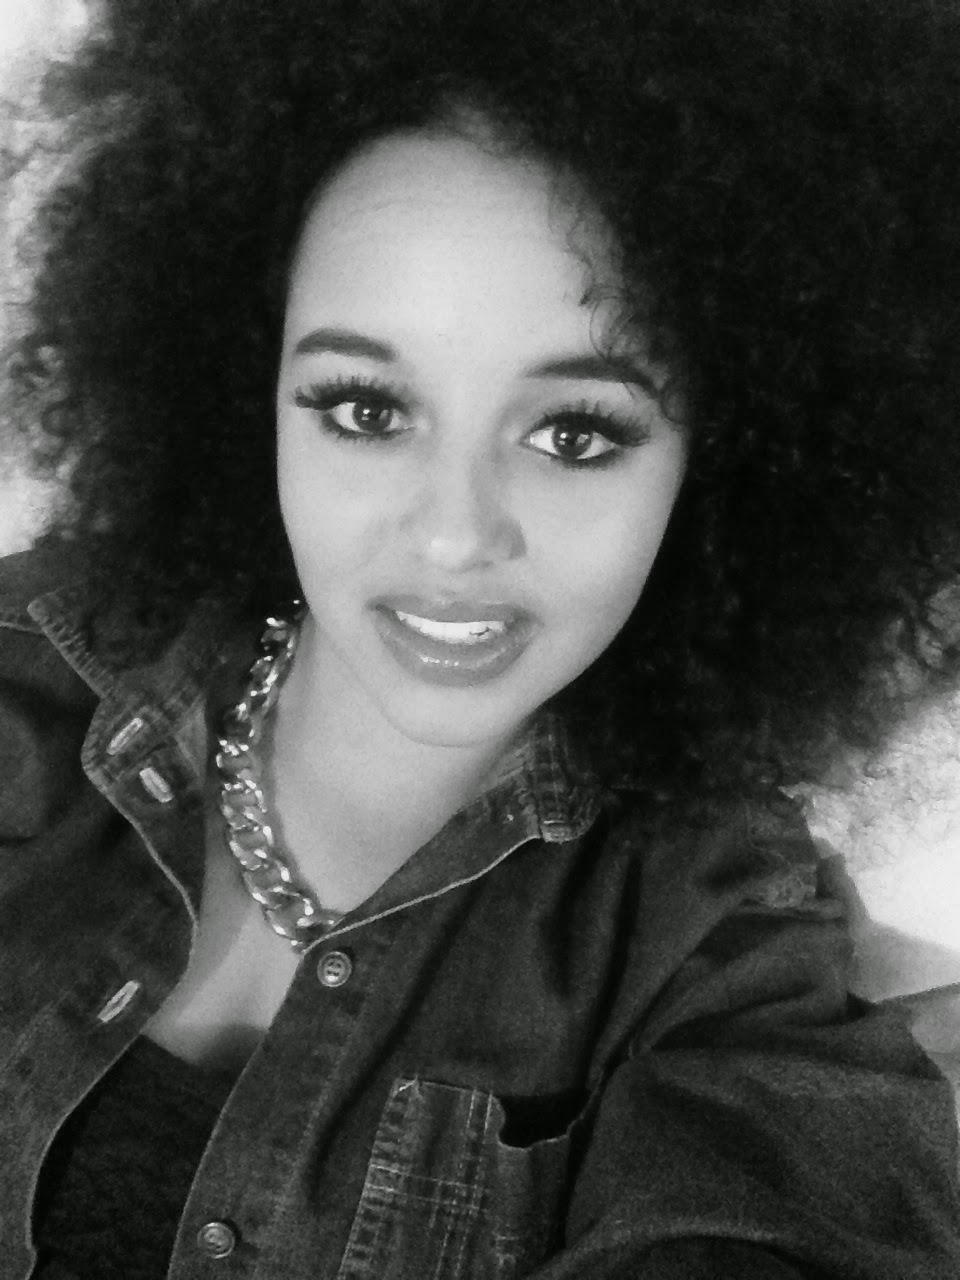
After :


The whole process begun when I took a trip into my local town to get a treatment called a 'Texturizer' done on my hair, it is a basically a mild relaxer for Afro Caribbean hair that defines your curls and gets rid of all the frizz whilst making your hair straighter. This treatment lasts between 6-8 weeks, after which I will need to go and get the treatment done again. There is a specific shampoo and conditioner that you will need to purchase to keep your curls looking natural and defined.
WARNING : If you go back to using your normal shampoo for example: Pantene or Elvive;Your hair will go back to its original form.
Texturizer prices can differ depending on the hair salon but they normally cost between £40-£60 with the salon's own texturizer included in the price.
After this, I purchased my hair pieces for my weave I got one 16''inch and one 14''inch. Both costing at around £50-£60 altogether which isn't bad when you think of how expensive extensions can be.
I traveled to Bristol to my favourite hair salon called 'Georgina's' which is located in Fish Pond. My hairdresser started off by corn rowing my hair which basically just means braiding it. She left out some sections of hair for my side fringe, then moved on to sewing my hair piece/weave onto the braids. It was a very painful process that I would not recommend to anyone that isn't good with pain. Once the weave was secured she proceeded to straighten then curl sections of my hair. Altogether it took around 2 hours, costing at around £55-£60.00 for the weave to be sew in.
Let me know what you all think of this blog post, if you would like more posts on hair then I could do so.
Hope you are all well, thank-you so much for taking the time to read my blog it means alot.
Leah x

Comments
Post a Comment